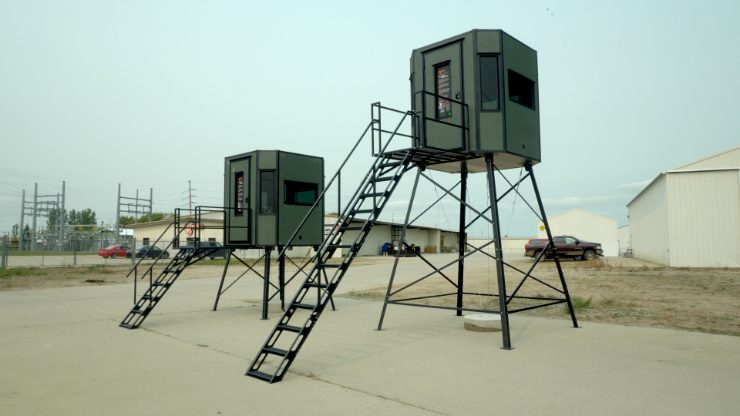
How to Assemble a 10ft Hunting Blind Elevation Kit
Learn how to assemble a 10ft hunting blind elevation kit from Ambush Hunting Blinds. We recommend assembling with at least 3 people. Are you curious why you should use a elevation kit? Check out how you can elevate your hunting success with an elevation kit for your hunting blind!
You will need the following tools for assembly:
-
Equipment with forks (i.e. skid steer or tractor)
-
8 ft step ladder
-
Impact or socket wrench
-
3/4″ deep socket & wrench
-
9/16″ deep socket & wrench
-
7/16″ socket
-
Driver & square bit
-
Crescent wrench
-
Hammer
-
Punch or screwdriver
-
Tin snips
-
Level
-
Crowbar
-
Shovel
-
Pickaxe
Part 1: Attach Legs & Braces
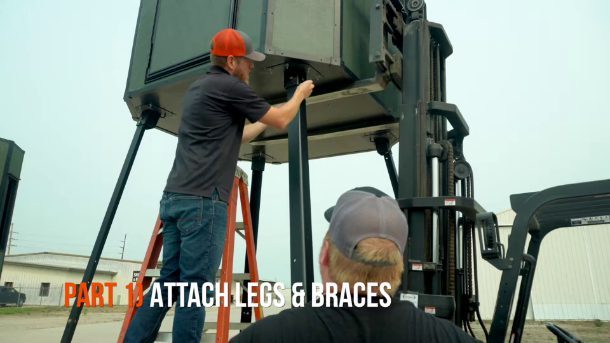
To begin, build the legs and slide them into the leg brackets located on the bottom of the blind. Fasten the legs to the leg bracket with the angle facing the outward corner. Now, attach 4 shorter cross braces on each upper side. Then, attach the 8 longer cross braces on the bottom side. Finally, tighten the nuts.
Part 2: Sub-assembly of Porch & Stairs
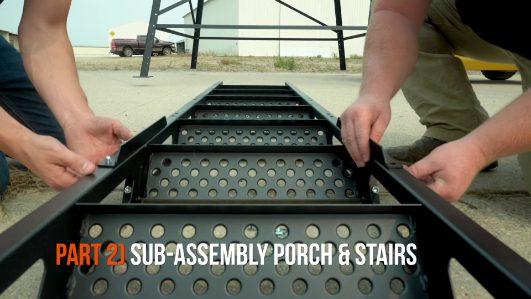
Begin by connecting the stair sections together and add the stiffener brackets to the bottom side. Then, move on to attaching the stairs to the porch, along with the braces.
Part 3: Attach Porch & Stairs
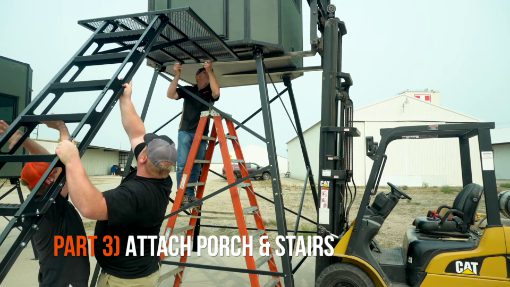
First, attach the porch mount adapter to the bind. The flange goes back and towards the bind. Now, raise the blind 6″ off the ground. Lift the assembly onto the flange of the adapter and bolt them together. Then, lower the blind back down to the ground.
Part 4: Attach Railings
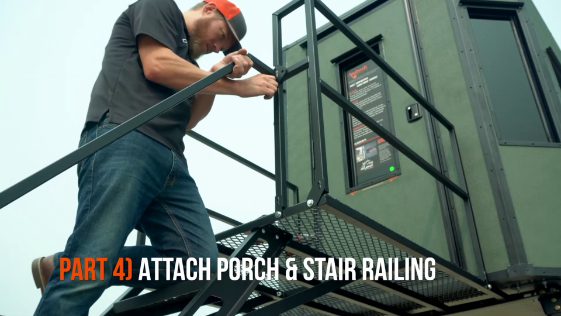 Install the left and right side rails to the porch. Then, install the left and right upper stair rails and finally the bottom rails. Don’t forget to attach the bumper to the left side porch rail. The bumper will keep the door from hitting the rail.
Part 5: Level
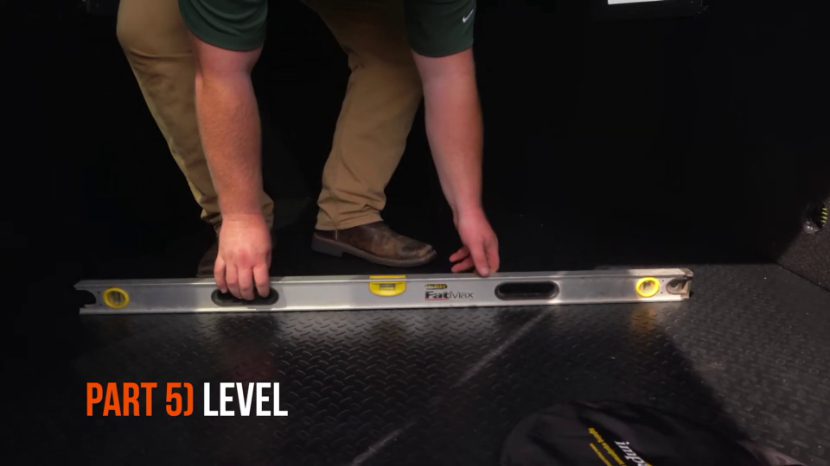 With your level, pickaxe, and shovel, remove soil as necessary below the legs and ladder so the blind sits level. Be sure that the blind does not rock or teeter.
Part 6: Anchor
 First, screw the anchor into the ground below and center of the blind. Hook the turnbuckles to the same side of the leg brackets. Attach one end of the cable to the turnbuckle and run the cable through the loop of the earth anchor. Then, run the other side through the opposite leg bracket hook, pull and secure it to itself. Repeat this process for the other cable and turnbuckle. Finally, tighten each of the turnbuckles until the cable is tight.
Now that you know how to assemble a 10ft hunting blind elevation kit on your Ambush Hunting Blind, contact your dealer to purchase one today!