The Deer Tagging Process Explained
You arrived early, before the sun came up, and set up in one of your deer hunting blinds. You have been seeing a nice buck in this area, and you are hoping to get a good shot at him this morning. Not long after daylight, you hear the faint sound of leaves slightly crackling. Your heart starts to pound, praying it is your buck!
Finally, after so much anticipation, you see him coming out of the woods and into the small field you are hunting over. You line up your shot with your rifle, wait for him to stop walking, and then slowly pull the trigger.
Boom! He drops right in his tracks! You are on top of the world, but now what? How do you go about starting the deer tagging process, making it all legal?
What First?
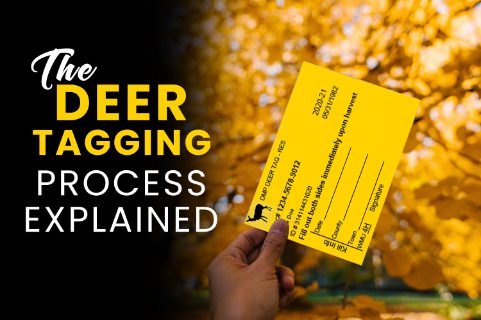
The first step, after you go check him out and admire him, is to fill out the deer tag on your license. You will need to put info such as date, time, and what deer zone you are in; plus how many points he has.
 Online
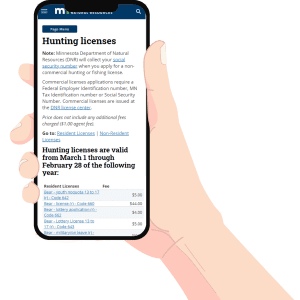
Then, you need to go to your state game and fish agency website, find the link to online deer checking, and fill out the info on there. It will ask you the same information that you filled out on your deer tag. It is important to remember that you must keep the tag with you when transporting the deer, to show that you have tagged it.
What is the Purpose?
The reason for the deer tagging process is so the game and fish agency can keep track of how many deer are harvested each year, and what adjustments or changes in regulations they need to make.
You have put in the time and effort into harvesting your buck, now it is time to fulfill your obligation of tagging it. This will help keep the heard healthy and ensure hunting success in the future, giving you the opportunity to sit in one of your deer hunting blinds to harvest another monster!
After you’ve properly tagged your deer, learn how to use the antler scoring system here!

